 Skip to content

How to Move Small Landscaping Rocks
Collect loose landscaping rock in small sections, separate unwanted debris, and move manageable loads in a suitable cart or wheelbarrow. Prepare the destination first so you can unload once. Use a rake to gather scattered stone, a shovel or scoop for loose piles, and careful hand collection near plants, roots and exposed fabric.
For a clear, accessible bed, gather the stone into shallow piles and transfer it into a nearby cart. Avoid carrying it farther than necessary.
Work cautiously. Remove the loose upper layer first, then use a less aggressive method where a blade might catch or tear the fabric.
Only if unwanted soil, leaves or small debris make sorting worthwhile. Test a sample before screening the entire bed.
There is no universal safe load. Equipment ratings, the route, load control and the person doing the work all matter.
First, decide what “small rocks” means for your project.
This guide covers loose pea gravel, crushed stone, small river rock and decorative aggregate that can be collected in batches. It also covers scattered individual stones that can be handled without forcing a lift. Boulders, wall units, large slabs and stones supporting another feature need a different handling plan.
Small pieces do not make the whole job light. A thin-looking layer spread across a long bed can contain far more material than one wheelbarrow suggests. The practical challenge is usually repeated collection and transport, not finding a clever way to lift one stone.
Inspect a small test area before choosing your method. Lift a little loose stone and check whether it rests on soil, an intact separator, torn fabric or embedded roots. Look for irrigation tubing, edging anchors and buried debris. What is underneath determines how aggressively you can work.
| Bed condition | Starting approach | Main thing to protect |
|---|---|---|
| Loose gravel on an open surface | Rake into shallow piles, then shovel or scoop into a nearby container. | Keep soil out of reusable stone and control scattered pieces. |
| Rock over visible fabric | Remove the upper stone layer gently; finish with controlled scooping or hand collection. | Avoid catching fabric, staples or plant openings with the shovel. |
| Stone mixed with dry soil and leaves | Collect a sample and test a screen before sorting larger batches. | Preserve the stone sizes you actually want to keep. |
| Stone embedded in mud | Postpone sorting until conditions improve where practical; review why the bed is wet. | Avoid hauling unnecessary mud or damaging saturated ground. |
| Rock among roots or irrigation | Use careful hand collection and smaller tools; stop if components are tangled or buried. | Roots, tubing, fittings and the existing planting. |
Use tools that collect stone without creating another repair.
A basic setup is a sturdy rake, an appropriate shovel or scoop, a suitable cart, and a defined place to unload. Add sorting equipment only when the stone needs it. Check handles, tires, wheels and fasteners before filling anything.
| Tool | Useful job | Limit to remember |
|---|---|---|
| Landscape or bow rake | Gather loose pieces and level a shallow layer. | Aggressive raking can snag fabric, roots or tubing. |
| Square-point shovel or sturdy scoop | Transfer loose aggregate from a pile. | Large scoops add weight quickly; do not use the blade as a root-cutting shortcut. |
| Small hand scoop | Collect stones near edges and plants. | Keep fingers away from sharp debris and concealed fittings. |
| Buckets or rigid containers | Separate colors or hold small controlled batches. | Volume markings are not a safe lifting limit; inspect handles and avoid overfilling. |
| Wheelbarrow or garden cart | Move batches along a suitable route. | Check rated capacity, balance, turning room and surface condition. |
| Sturdy screen over a stable frame | Separate smaller unwanted material from reusable stone. | The opening must retain the smallest stone you want to save. |
| Ground-protection material | Separate staged stone from a suitable hard surface. | A tarp is not a lifting sling or a load-rated ramp. |
The Canadian Centre for Occupational Health and Safety’s shovelling guidance discusses blade selection, load size and working posture. A smaller scoop can reduce the weight of each transfer. Keep the loading point close, use controlled movements and turn your feet rather than repeatedly twisting to throw stone behind you.
Wear sturdy footwear and gloves appropriate to the material. If debris, dust or equipment use calls for additional protection, match it to the task. A shovel selected for moving loose gravel is not automatically suitable for prying out a lodged stone.
Prepare the destination and route before loading.
Choose whether the stone will go directly into a new bed, into temporary storage or off the property. If the new bed is not ready, you may handle the same material twice. Temporary storage can still be necessary, but make it a deliberate part of the plan.
Walk the entire route with the empty cart. Check gate width, turns, thresholds, soft lawn, steps and where you will stand to unload. Remove ordinary obstacles and make sure the destination has enough space for both the load and the equipment.
A short route with stairs may be harder than a longer route on firm, open ground. Do not assume a loaded garden cart can safely use steps or an improvised ramp. Where access is difficult, change the equipment or arrange professional handling.
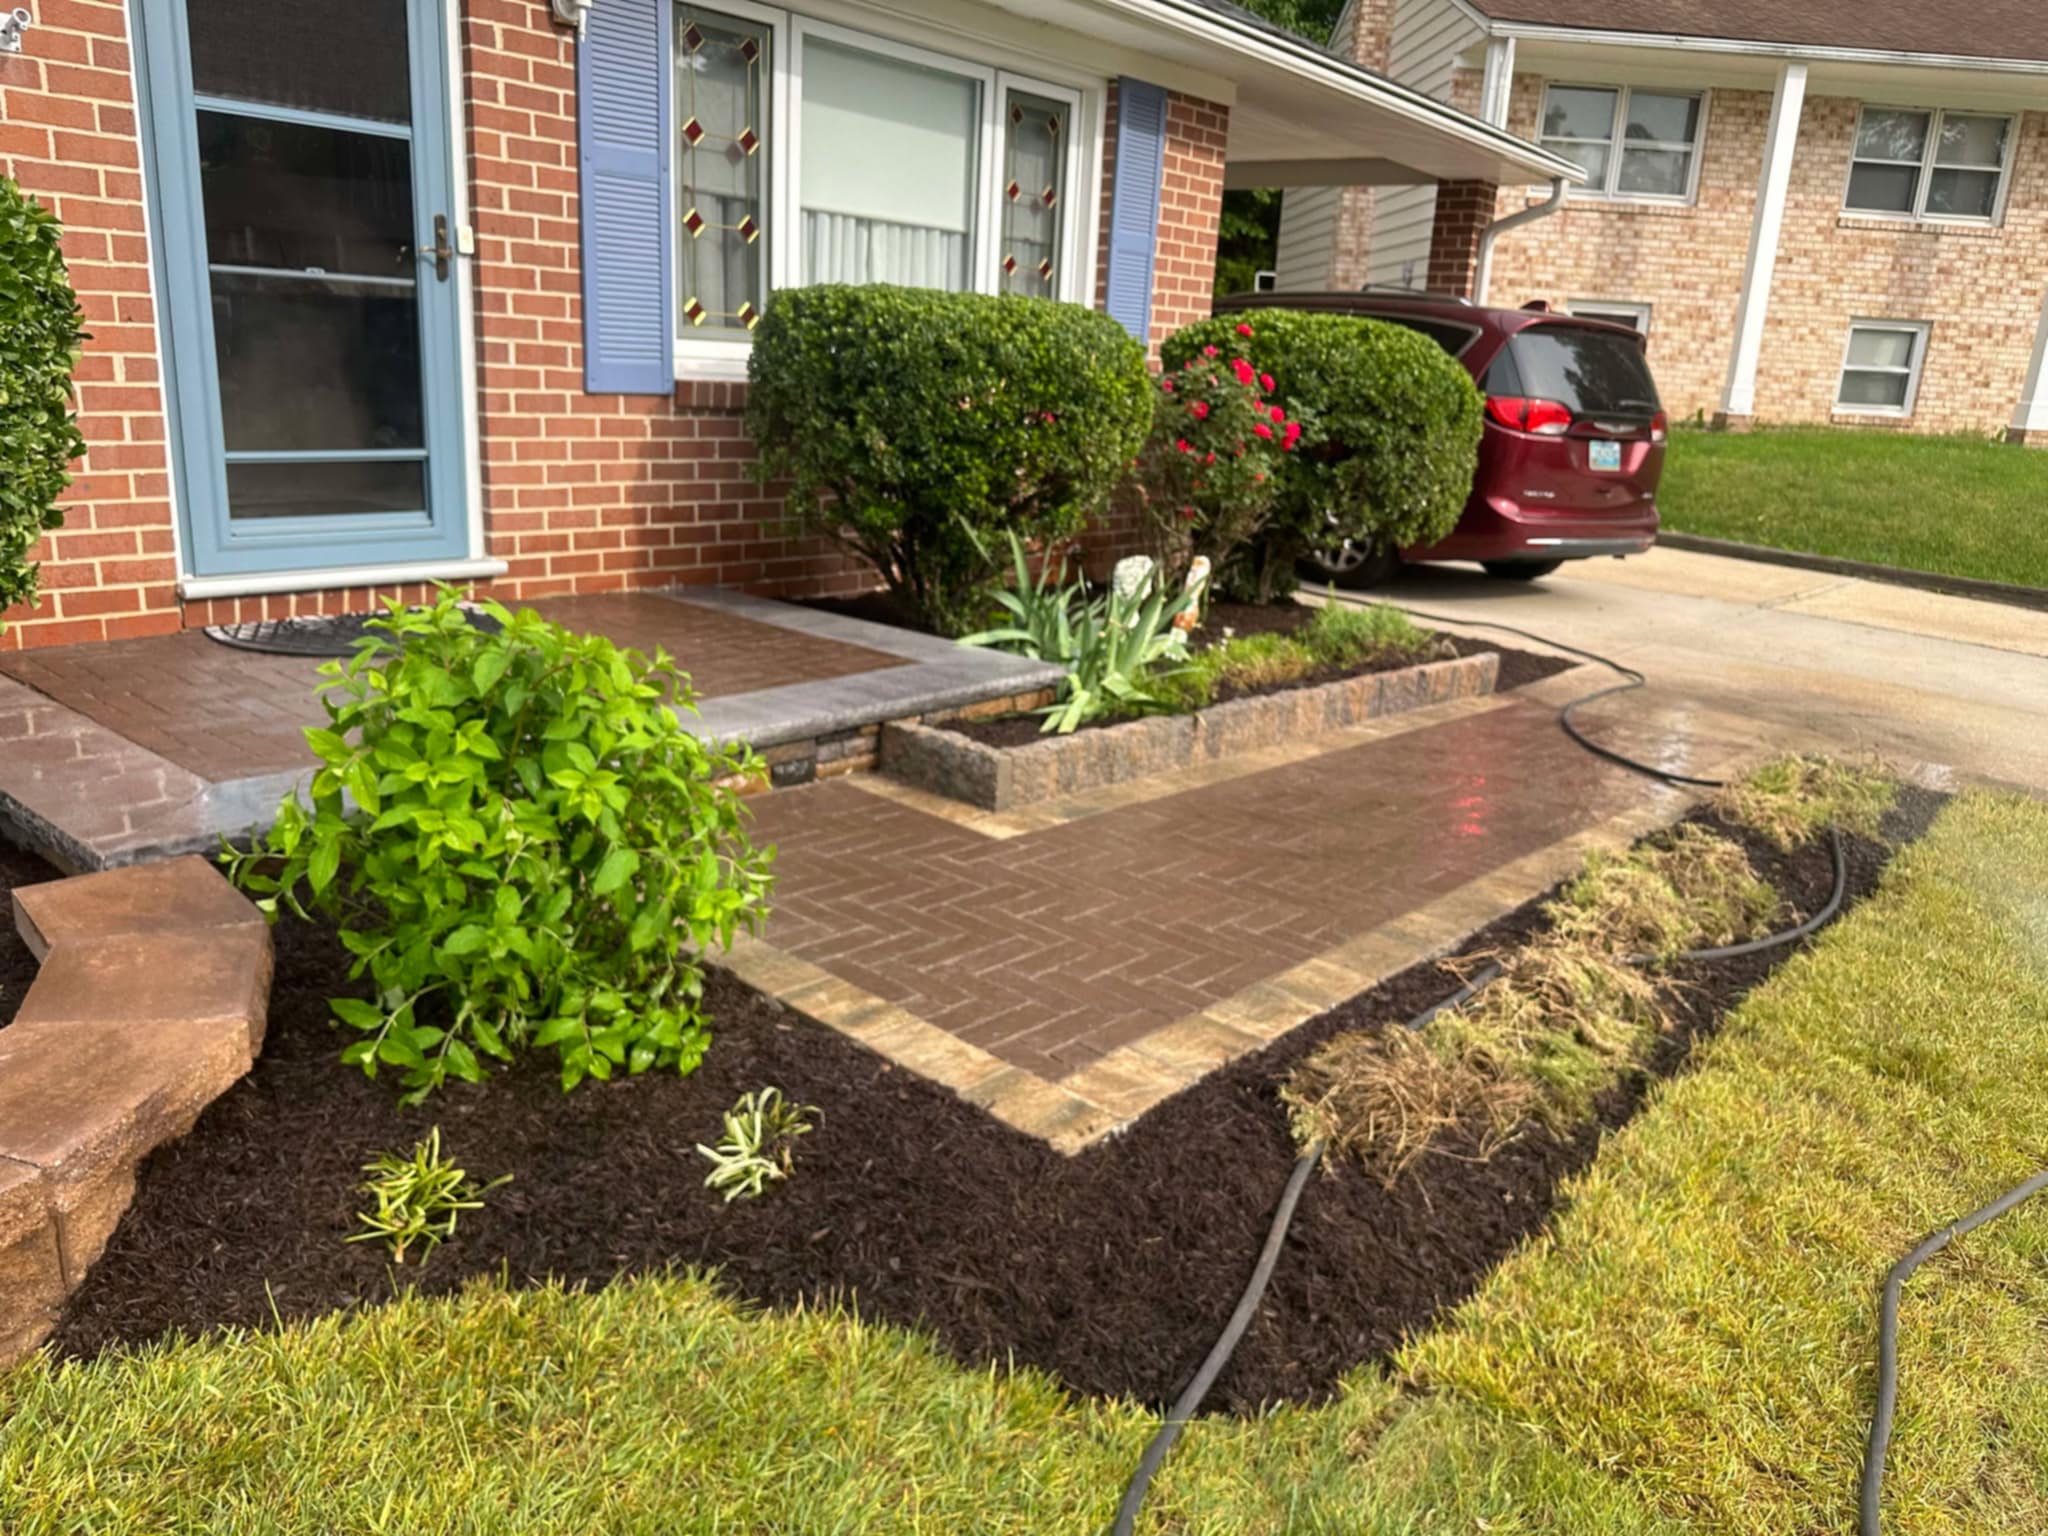
Pick a staging location that will not block a door, drain, sidewalk or service access. Keep separate piles for different stone colors or sizes if you want to reuse them without mixing. Put contaminated or questionable material aside for assessment rather than combining it with clean aggregate.
Do not leave a heavy pile on lawn simply because it is convenient. Discuss a suitable storage location and surface protection. Plan the position of the pile around existing plants, the loading route and how it will be removed later.
The cart’s rating is only one part of load planning. CCOHS handcart guidance explains that ramps, uneven surfaces, turning space, cart characteristics and the operator affect the effort needed. A rated payload does not tell you what you can comfortably control on your particular route.
Estimate the amount, then verify it with a test section.
For a roughly rectangular bed, measure its length and width in feet and the depth of the stone layer in inches. Measure stone rather than the soil or base underneath. Several depth checks are more useful than a single reading at the thickest corner.
Volume in cubic feet equals length × width × depth ÷ 12. Divide cubic feet by 27 for cubic yards. Curved beds need a measured area or separate sections; a full bounding rectangle can overstate the amount significantly.
The estimate is less certain when stone is buried in soil, the layer varies or only part of the material will be recovered. Try clearing one representative patch. Compare the actual recovered material with your expected quantity, and revise the work plan before committing to the whole bed.
Weight needs a material-specific assumption. Sakrete Canada lists one pea-gravel product as 66 pounds yielding approximately 0.67 cubic feet when not compacted. That illustrates why loose stone adds up quickly; it is not the density of every landscape aggregate.
Rock volume, weight and trip planner
Enter the bed dimensions, an estimated loose bulk density and the volume you intend to transport per trip. Use supplier information or a measured sample to replace the example density. The tool calculates material quantities, not a safe lifting limit or completion time.
The 100 lb/cu ft density and 0.5 cu ft trip volume are illustrative inputs. They are not verified specifications for your stone or a recommendation for manual handling.
Trip counts at three hypothetical load volumes
Weight = volume × entered density. Trips = volume ÷ planned trip volume, rounded up. The final trip holds the remainder. Weight excludes the cart or container. Estimates do not account for soil, retained water, uneven depth or material lost during sorting.
A larger trip volume reduces the arithmetic trip count while increasing material weight per load. It does not automatically make the job faster or easier. If loading, steering or unloading is difficult, revise the plan rather than trying to meet the chart’s lowest number.
Move the stone in a controlled sequence.
Step 1Clear surface debris and mark what stays.
Pick up branches, trash and larger loose debris before gathering rock. Identify plants, irrigation lines and edging that must remain. Work around those features rather than pulling a rake through the entire bed indiscriminately.
Choose one small section with a clear boundary. Keeping the work area limited makes it easier to distinguish cleared ground, loose stone and material already sorted for reuse.
Step 2Gather shallow piles without digging into the base.
Use controlled rake strokes to draw loose aggregate toward an accessible loading point. Stop if the rake snags fabric, roots or an unknown object. Around planting, finish with a small scoop or hand collection.
A low pile is easier to collect than a large mound forced against a plant or wall. For rock already collected in a loose heap, skip unnecessary raking and transfer it directly.
Step 3Separate unwanted material at the source.
If the stone needs screening, do it before transport where there is a suitable stable setup. This avoids moving the same soil and leaves to the new bed. Keep reusable rock, larger debris and screened fines in separate containers.
Do not bury unknown trash in the destination. Broken glass, metal, suspected contamination or an active animal nest changes the job; pause that section and obtain appropriate help.
Step 4Load small, balanced batches.
Position the cart close to the collection point on suitable firm ground. Add material in controlled scoops, distributing it according to the equipment’s instructions rather than piling everything on one side.
Check whether you can start, steer and stop the equipment before adding more. Never treat its empty interior volume as permission to fill it with dense stone. Containers used within the cart still need sound handles and stable placement.
Step 5Transport along the prepared route.
Keep the route visible and clear. Move deliberately through turns and keep others out of the working path. Stop and reassess if wheels sink, the load shifts or the surface becomes slippery.
Do not pull a heavily loaded tarp across planted ground as a substitute for proper transport. It can catch, tear or spread stone along the route, adding cleanup and another handling problem.
Step 6Unload in the planned location and inspect the cleared section.
Unload using the equipment’s approved method. Where controlled placement is needed, transfer smaller portions rather than attempting a sudden dump near a wall, plant or path.
After each section, collect stray stones from the route and check the exposed bed. Record torn fabric, embedded roots or drainage issues before covering the area again. Continue only when the next section and destination are ready.
How to separate landscaping rock from soil and leaves.
Screening works when unwanted particles are smaller than the stones you intend to keep. It does not neatly separate materials that overlap in size. A screen that lets unwanted grit fall through may also lose the smallest decorative stones.
Test one modest batch on a sturdy screen supported over a container. Choose an opening that retains the smallest desired stone. Pick out larger roots, leaves and debris separately; they can remain above the mesh with the rock.
Keep batch size small enough to control without violent shaking. Stop if the screen flexes, its support shifts or the material is too wet to separate. Damp fines often cling to stone or clog an opening; forcing them through can turn sorting into unnecessary effort.
Screening removes some loose material but does not disinfect stone or reliably remove every weed root, seed or contaminant. If appearance is the main issue, decide whether sorting alone is sufficient before adding a washing step.
When washing is appropriate, contain sediment and review where the water will go. Do not flush muddy residue into a storm drain or toward neighboring property. Our landscape-rock cleaning guide covers cleaning as a separate task; moving the rock does not require treating every load with a chemical.
Protect plants, fabric and underground features.
Near established plants, collect exposed loose stone first and approach the remaining pieces carefully. Do not cut through roots to make the bed easier to shovel. University of Maryland Extension explains that digging and trenching can sever tree and shrub roots, with effects that may not appear immediately.
If a root passes through fabric or a stone is embedded beside it, pause and assess the area rather than pulling hard. The goal is to remove unwanted rock without turning a surface-maintenance job into root disturbance or grading work.
For fabric you intend to retain, reveal small areas and check its condition. Remove loose stone above it before using a tool near staples or plant openings. If the fabric is torn, buried or entangled, decide whether it needs replacement or selective removal as part of the bed redesign.
Rock collection that becomes digging or excavation needs a utility plan. Follow Miss Utility’s homeowner process before disturbing the ground. Its guidance notes that notified utility owners do not mark privately owned lines, so private locating may also be needed.
Do not assume a visible irrigation line is the only one. Keep track of tubing, emitters and fittings as each section is exposed. Review their placement before adding new material that could conceal a leak or leave a component difficult to service.
Prepare the new bed before returning the rock.
Confirm the purpose of the destination. Decorative stone around plants, a walking surface and a drainage feature require different decisions. Reusing existing rock saves an unnecessary purchase only if that material fits the new job.
Resolve weeds, damaged edging and drainage concerns before placing the stone. A fresh-looking surface can hide the same problem that caused movement or sediment buildup in the original bed. Do not automatically add more stone wherever the old installation looked thin.
Discuss the intended stone depth and finished level for the material and planting. Maintain suitable clearance at trunks, stems, doors, vents and service points. Avoid raising grade against a building or burying the base of an established plant.
Unload in small distributed batches and spread them with controlled rake strokes. Work around plants rather than dumping directly onto foliage. Check the finished surface from several angles so hollows and piled corners are visible before cleanup.
If the stone crossed its old border, use the relocation as a chance to address containment. See how to keep landscaping rocks in place and the garden-border service for a separate discussion of edging. Moving the material alone does not solve a failed boundary.

Two common jobs, with different work plans.
Moving clean gravel from one accessible bed to another
Prepare the receiving bed and transport route first. Test the existing layer to confirm it is reasonably clean and loose. Gather one section, load controlled batches, move them directly to the destination and spread as you go. If the first section reveals fabric damage or soil mixing, revise the method before proceeding.
Removing dirty rock to replace it with a planted bed
Decide whether any of the rock will be reused, stored or removed from the property. Test sorting to see whether recovering clean material is worthwhile. Separate the rock from unwanted debris, then review the remaining fabric, roots and soil before planning planting or mulch. Removal and rebuilding are separate parts of the project.
For the calculator’s rectangular example, a 12-by-5-foot area with a two-inch stone layer contains about 10 cubic feet. At the illustrative density, that means 1,000 pounds before allowing for dirt or retained water. The same footprint can produce very different work if the rock is loose and accessible versus embedded beneath dense shrubs.
When to handle it yourself and when to get help.
A modest, accessible amount of loose stone with a firm transport route may suit a carefully planned homeowner project. A large quantity, repeated heavy handling, steps, steep ground, restricted access or sensitive planting may favor professional work or different equipment.
Ask for an estimate that separates collection, sorting, on-site relocation, off-site removal and rebuilding the bed. State whether the existing stone must be preserved by color or size. Include photographs, approximate dimensions, gate access and the distance to the destination.
There is no reliable flat price based only on square footage. Depth, contamination with soil, route conditions and the new bed’s requirements can change the scope. If the material will leave the property, arrange an accepted destination before loading it. See our rock-removal guide for that separate planning question.
Questions about moving small landscaping rocks
What is the best shovel for landscaping gravel?
A sturdy square-point shovel or scoop can work well for loose aggregate. Choose a size and handle that let you control the load. Near fabric, roots or tubing, switch to gentler collection rather than forcing the same blade through everything.
Can I use a leaf blower to gather rocks?
Do not use a blower as a rock-transfer tool. Gather stone with a suitable rake or scoop. Keep loose pieces out of the transport route and collect them before mowing nearby grass.
How do I remove rocks without taking too much soil?
Collect the loose top layer first, avoid digging below it and test a screen if fine soil is mixed through the rock. Embedded material takes more careful separation and may not be economical to recover completely.
Should I move rock while the ground is wet?
If possible, wait until the route can support the equipment and the material separates more easily. Wet soil can make handling and sorting harder. Persistent wetness also deserves a drainage review.
Can I drag the rocks on a tarp?
A tarp may help separate a temporary pile from an appropriate surface. It is not a load-rated lifting device, and dragging a heavy pile can tear it or damage the route. Use transport equipment suited to the material and access.
Will sifting remove all weeds?
No. Screening can separate some smaller debris, but larger roots may remain with the stone and seeds can pass through or stay behind. Review the bed’s weed problem separately before placing the rock again.
How long will the job take?
Quantity and trip count are only part of the answer. Collection difficulty, sorting, route conditions, equipment, breaks and cleanup affect duration. Use a test section to assess the work rather than assuming a universal rate.
Can I use this method for boulders?
No. Boulders, unstable individual stones and structural features need suitable equipment and qualified handling. This guide focuses on small loose aggregate collected in controlled batches.
Plan the whole bed change.
The Detail Guys is based in Edgewood and serves Harford and Baltimore counties. Bring your dimensions, access details and reuse plans to a landscaping consultation so the proposed work covers the bed and the destination.
Request a project estimate or call 443-756-4001.